klipper_canbus
RS485
All instructions assume a default raspbian install, mainsailos/fluidos may have some of these steps completed for you.
** Physical Setup **
These steps will get a Waveshare RS485 or similar CAN hat interface up and running.
Please note that this board may have compatability issues if you run your regular printer MCU via UART instead of USB as the pins overlap.
** Mount the Waveshare board to the PI **
- Mount the 40 PIN header from the Waveshare RS485 hat to your PI so that the bulk of the Waveshare board is over the PI (within the pi’s footprint).
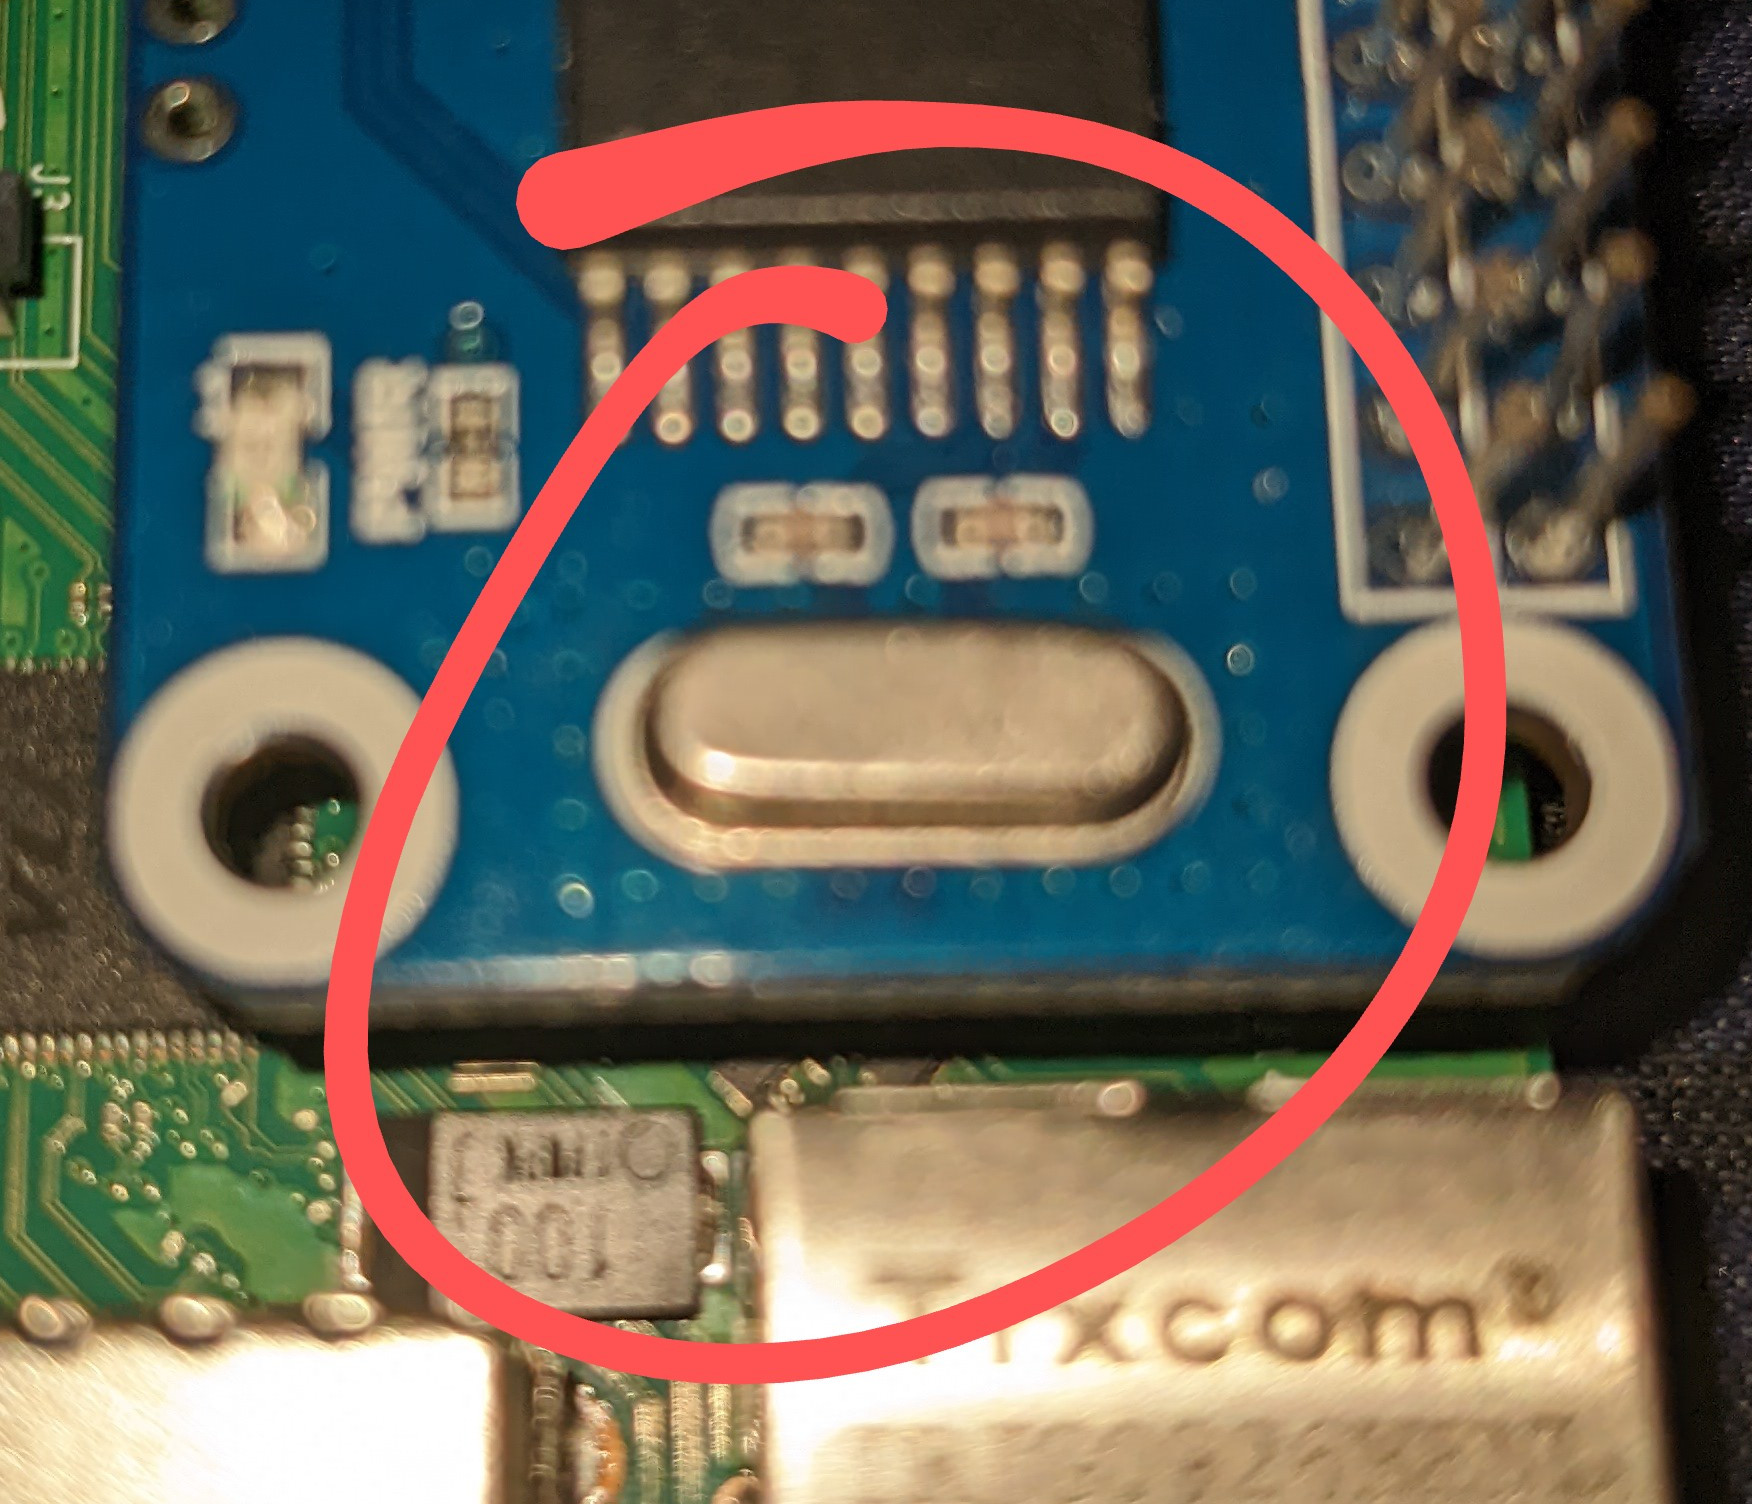
Identify the reference clock
Find the clock chip on the CAN HAT and read the number from the top, you will need to know this for the next step(s).
** Raspberry PI Configuration **
SSH Into the PI
Enable SPI & Serial interfaces
sudo raspi-config
- Select Interfaces
- Select SPI
- Select Yes
- Select Interfaces
- Select Serial
- Select Yes to both Options Exit and reboot
**Check serial and add your overlays **
Check the serial config
nano /boot/cmdline.txt
Should look a little something like the below example.
console=tty1 console=serial0,115200 root=PARTUUID=8f81106e-02 rootfstype=ext4 fsck.repair=yes rootwait
press Ctrl+X to exit.
If yours is missing the console=tty1 console=serial0 at the start then you missed something above and will need to follow the steps outlined in Enable SPI & Serial Interfaces
Add any missing overlays
Via SSH enter
sudo nano /boot/config.txt
You should see a block titled [all] towards the bottom of the file.
under the heading it should read a little like the below.
[all]
dtoverlay=pi3-miniuart-bt
enable_uart=1
If your clock read 8mhz in the previous step add the following to the [all] section:
dtoverlay=mcp2515-can0,oscillator=8000000,interrupt=25,spimaxfrequency=1000000
dtoverlay=spi1-1cs
press Ctrl+X and follow the prompts to save without changing the name.
If it read 12mhz, enter the following instead
dtoverlay=mcp2515-can0,oscillator=12000000,interrupt=25,spimaxfrequency=2000000
dtoverlay=spi1-1cs
press Ctrl+X and follow the prompts to save without changing the name.
The final config.txt file should look a little like this
[all]
dtoverlay=pi3-miniuart-bt
enable_uart=1
dtoverlay=mcp2515-can0,oscillator=12000000,interrupt=25,spimaxfrequency=2000000
dtoverlay=spi1-1cs
Create your CAN network
AS the CAN network does not already exist we need to create it.
To do this type
sudo nano /etc/network/interfaces.d/can0
Add the following to the file
auto can0
iface can0 can static
    bitrate 250000
    up ifconfig $IFACE txqueuelen 256
    pre-up ip link set can0 type can bitrate 250000
    pre-up ip link set can0 txqueuelen 256
press Ctrl+X and follow the prompts to save without changing the name.
These are your “safe defaults” depending on other factors you may be able to adjust your bitrate and txqueuelen up or down from here.
WARNING: IT IS CRITICAL THAT YOUR CAN NETWORK & TOOLHEAD UTILISE THE SAME BITRATE!
Now you can enter sudo reboot to reboot the PI and verify that the CAN0 network is up with the following command.
ifconfig can0
If you see something similar to the below then all is good and you can move on to flashing /wiring your toolboard.
$ can0: flags=193<UP,RUNNING,NOARP>
$     unspec 00-00-00-00-00-00-00-00-00-00-00-00-00-00-00-00  txqueuelen 256 (UNSPEC)
$     RX packets 4  bytes 32 (32.0 B)
$     RX errors 0  dropped 0  overruns 0  frame 0
$     TX packets 4  bytes 32 (32.0 B)
$     TX errors 1  dropped 1 overruns 0  carrier 1  collisions 0
CAN Network troubleshooting
A message like
can0: error fetching interface information: Device not foundindicates that your interface is incorrectly configured, so you should check your
/etc/network/interfaces.d/can0file.
resources
https://www.klipper3d.org/CANBUS.html https://www.waveshare.com/wiki/RS485_CAN_HAT